Blisters are one of the few unpleasant inevitabilities of long-distance hiking. You’re pretty much guaranteed to get one or two no matter what you to do stop them; bear in mind you’re putting your feet through a rather hefty ordeal. That said, there are definitely measures we can take to prevent, manage and repair them (many of which reply on common sense). The first step is understanding why these mysteriously painful, fluid-filled blobs occur…
Disclaimer: This post contains graphic images of blistered feet. Readers with a sensitive disposition are advised to zoom with caution.

What causes our feet to blister?
Well, in short, blisters on our feet are the result of friction. Our socks or shoes press and rub against the stronger outer layers of skin, causing damage. An area of bodily fluid then forms to protect the weaker skin underneath and… voila, there you have one of those agonising skin-bubbles we all know and hate: a blister.
Moisture (caused by sweat, rain etc.), rubbing from our shoes and the heat of our feet are the 3 main contributors to your feet blistering. Without preventing or limiting these 3 factors, after 30 days of hiking your feet will end up looking like creatures from a low-budget 70’s horror movie.

How to prevent blisters.
1. Choose the right shoes, not the best ones.
- Don’t you go for the priciest option. Many new hikers will fail to realise that there is pretty much no correlation between the price of the boots you buy and how likely you are to get blisters. Don’t try to find the best shoe, try to find the shoe that fits you best. I’ve long lost count of the number of people I’ve met with wince-inducing feet sporting brand new, top of the range shoes. Which brand of boot (or hiking shoe) may help to determine how long it lasts but will not in any way guarantee you comfort.
- Fashion doesn’t matter. Regretfully, the best fitting boot is often (in fact seemingly always) the ugliest one in the shop. It’s best just to accept this and deal with it. Style on the Camino becomes an afterthought and you’ll find that all boots look rather similar when coated in mud.
- Online shopping is a big no-no. It pains me every time I run into a pilgrim with blister-ridden feet, torn apart from the lovely brand spanking new shoes they, against all common sense, purchased online and never even tried on before buying. Please, for the love of god, don’t do this.
- Breathability is more important than waterproofing. The Camino is fairly dry so moisture is more likely to develop from sweat than rain. If you do get caught in a proper downpoor your feet will eventually end up wet regardless of how waterproof your shoes are. Breathability will help them dry quicker.
- Size matters. Your feet grow as you walk so make sure your boots aren’t too snug, especially by the toes. It’s common to buy a size up; trying on boots after spending a day walking should give you a descent idea of how your feet will expand but it varies from person to person. Your heel shouldn’t move off the soul of the boot when you lean forward. You should have a bit of room at the front of the shoe, enough that when you’re going downhill your toes don’t press against the end.
- Wear them in. It goes without saying that you need to break your boots in before you go. Don’t let half way up a mountain in the French Alps be where you find out your boots aren’t quite right.
Remember that comfort is key. If your shoes aren’t comfortable, they’re not right. It’s that simple.

2. Reduce Moisture & Heat
Stopping your feet getting too damp or warm is key for blister prevention. Here are a few ways to do so:
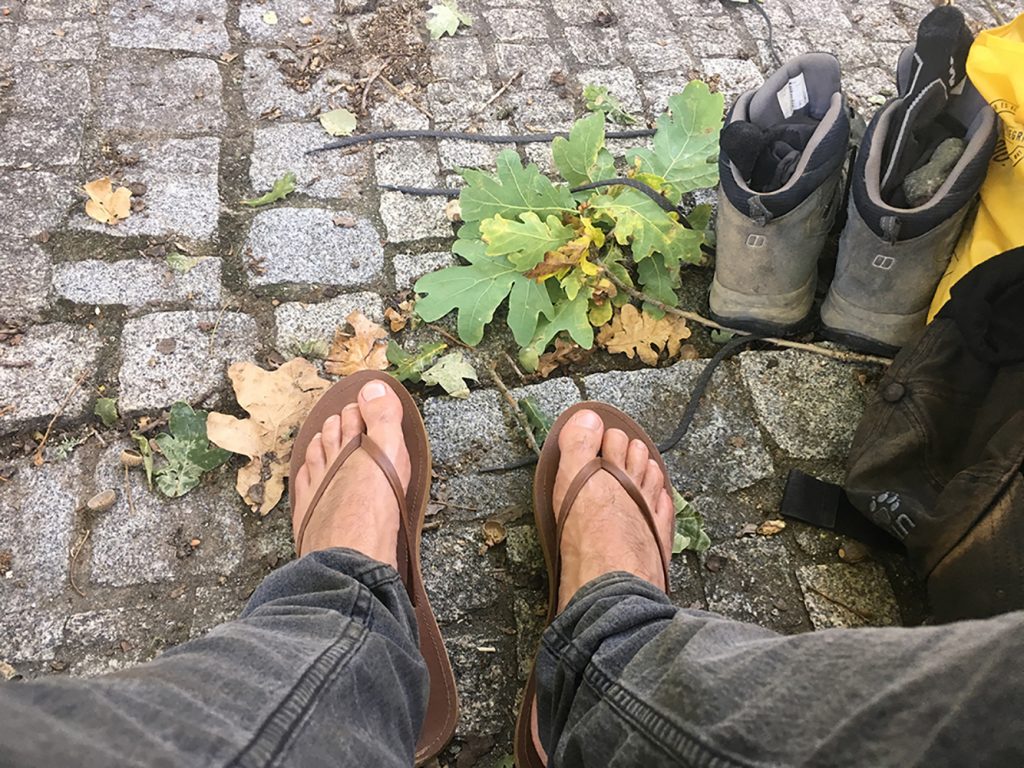
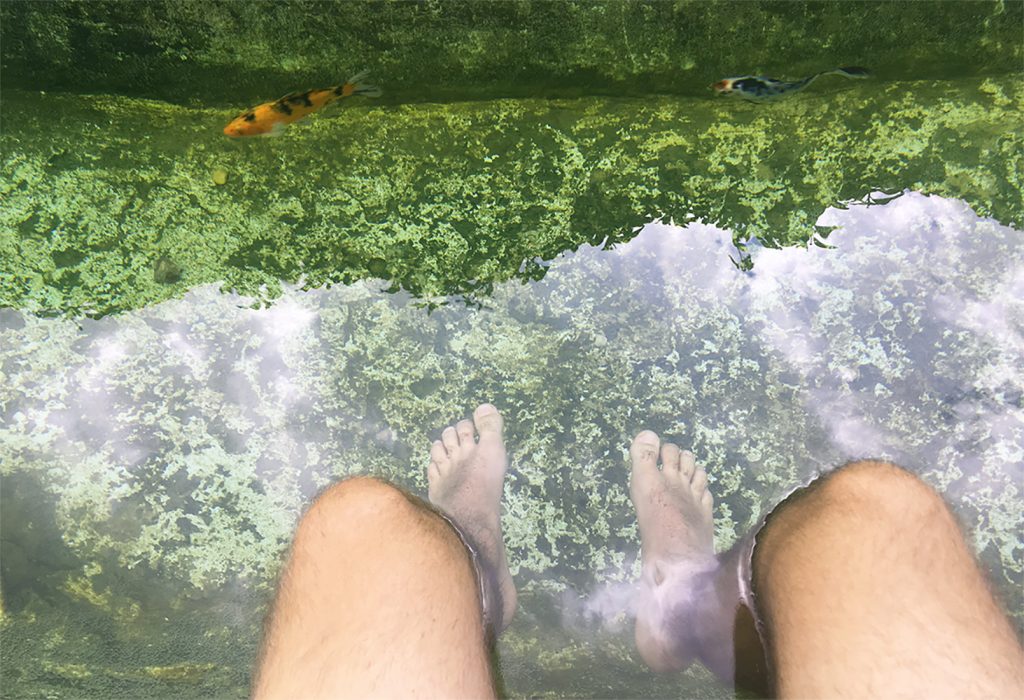
- Air your feet multiple times a day. I know, it’s tedious. For ages I avoided this technique as it’s a slow and painful experience to de-boot every time you stop just to lace up again 10 minutes later. But it does work.
- Swap socks. Try to do so at least once a day. Dry socks = dry feet.
- Thin socks are better as the weather is warm. Also choosing a good material (such as merino wool) will drag moisture away from your feet.
- Buy thin shoes. You don’t need big thick boots to hike the Camino. As I said before, try to find something breathable. This means less sweat and less heat.

3. Prevent Friction
- Lubricant. (Yep, I’m serious.) To the best of my knowledge no vaguely sane human being has ever taken pleasure in slathering up their trotters in vaseline and slithering them into a sweat-ridden set of hiking boots. But hey, you gotta do what you gotta do. I met one woman who swore by coconut oil, using it as a moisturiser, bug repellant, deodorant, cooking oil and sun cream as well as to protect her feet. I can’t say I’d recommend all those uses, but it does work well for the latter as it hardens your feet as well as lubricating them.
- Blister tape can protect areas that are starting to rub. Using a laminated tape will reduce friction and act as an extra layer of skin.
- Wear 2 pairs of socks. If thin socks don’t work for you then consider doubling up on socks to protect from friction. Most hiking shops will sell liner socks (which are thinner than normal hiking socks).

How to deal with blisters when you get them.
When you do get blisters, and believe me you are gonna get some, it’s important to properly care of them. The key here is the earlier the better: you’re better of patching up your foot as it starts to feel warm than trying your best to deal with the horrible, juicy lump that’s engulfed half your toe.
1. Stop them getting any worse
- Blister tape – When patches on your feet begin to feel very warm, or the start of a blister appears, cover the effect part in blister tape. I used Leukoplast, but any brand of blister tape should do the job; just make it’s waterproof and smooth on the outside (to prevent friction). Some people use duct tape, but I’ve personally never tried this.
- Pop those blisters. Allegedly many people say this is a bad idea, yet almost every hiker I met agreed that popping your blisters is the best way to go. Not doing so can mean they burst in your sock, leaving you open to infection. I’d advise sterilising a needle (burn the end with a lighter until it’s red hot then let it cool) then piercing the blister twice at the bottom, as close as you can to the edge, allowing the liquid to flow out. If possible sterilise after (with strong alcohol etc).

2. Help them to heal
- Compeed – This magic, spongy plaster will not only protect your blisters but also help to heal them, sticking to your foot like an extra layer of skin. They don’t come cheap but trust me when I say they’re worth their weight in gold. Just be careful when putting them on, bearing in mind that they cannot be taken off (I mean it, don’t even think about trying)! After a week or so the plaster will loosen itself: attempt to remove it any time and you’ll inevitable bring a good chunk of your foot with it too.
- Let them air out. Whenever you get a chance, let your feet air out. If you’ve taped them up, consider taking off the tape in the evening (assuming it’s not too well stuck).


Comments are closed.